
Basement Framing in Toronto
CanaStruct Inc. specializes in basement framing across Toronto and the GTA. Whether you're finishing an unfinished basement, converting a utility space into a legal suite, or building out a multiplex lower level, our framing contractors deliver precise, code-compliant results on time.
Expert basement framing contractors serving Toronto and the full GTA
Wood and steel stud framing for finished basements, in-law suites, and rental units
Ontario Building Code compliant work is ready for inspection at every stage
Detailed estimates with no hidden costs or surprise scope changes
Proven track record across Toronto, Scarborough, Mississauga, Markham, and beyond
What Is Basement Framing?
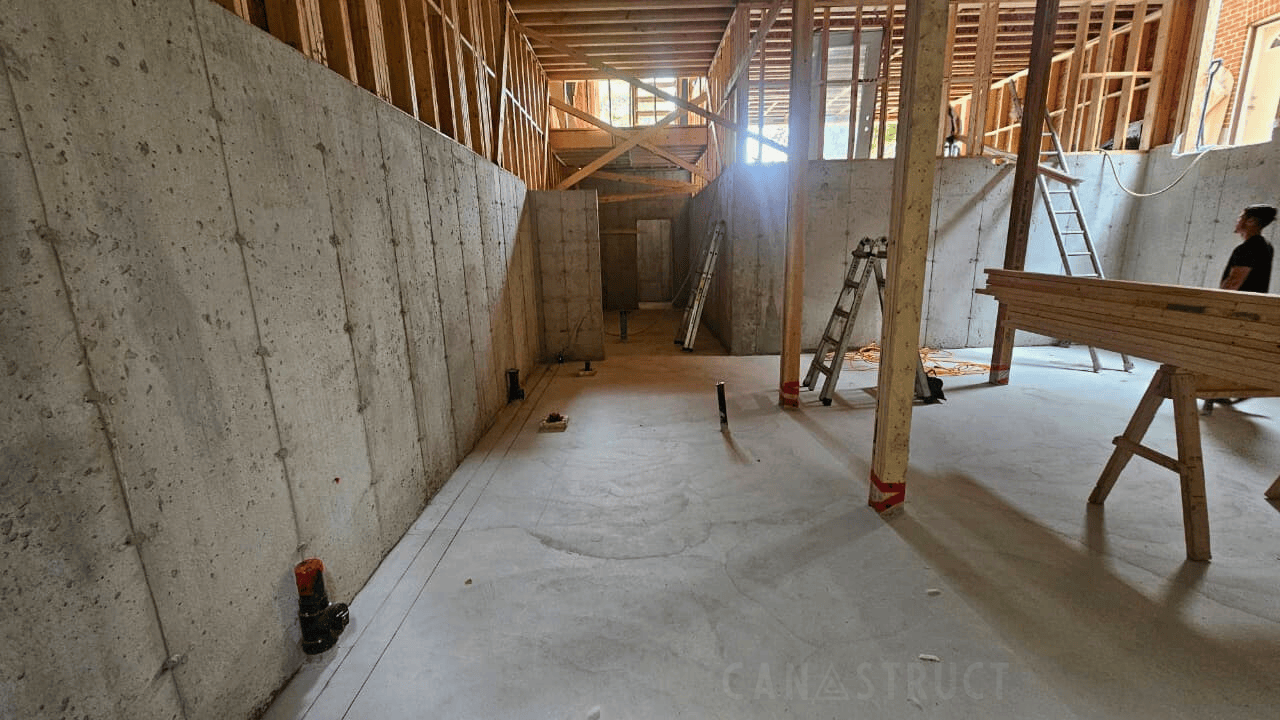
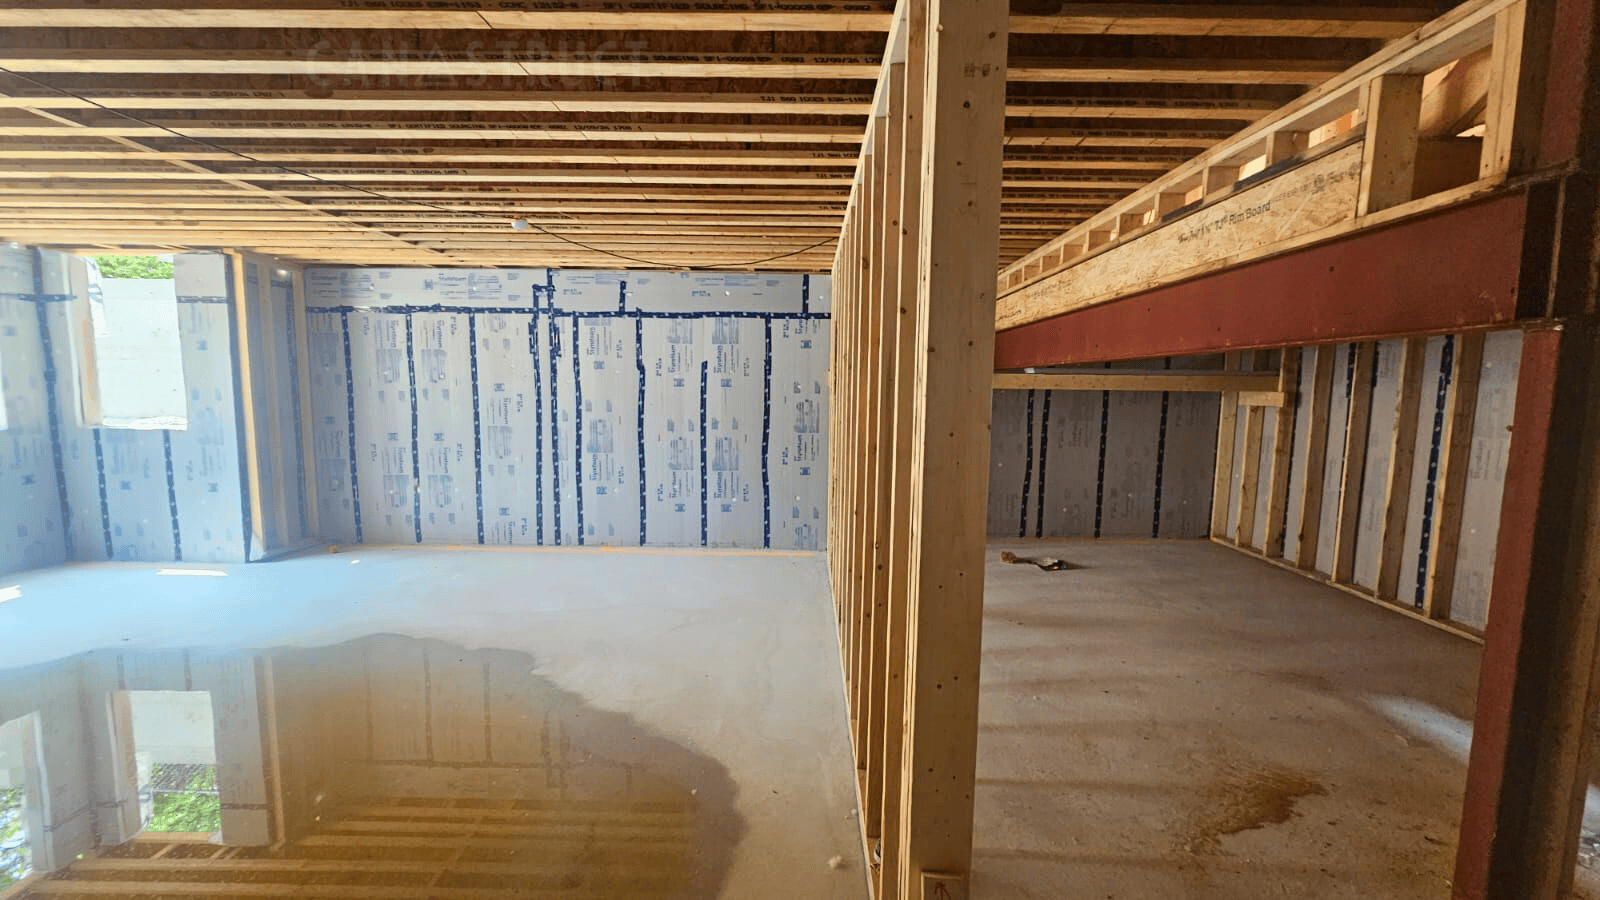
Basement framing is the process of building the interior wall structure of a basement using dimensional lumber or steel studs. It transforms an open concrete shell into a livable, functional space by creating the framework for insulation, electrical, plumbing, drywall, and finished surfaces.
In Toronto, basement framing is most commonly required for three types of projects: finishing an unfinished basement for personal use, converting a basement into a legal secondary suite or rental apartment, and framing the lower level of a new multiplex or custom home build.
Basement framing involves more than just stacking studs. A proper frame accounts for the structural beams and columns in the space, moisture barriers, fire-rated assemblies for rental units, and coordination with mechanical trades. That's why hiring experienced framing contractors — rather than attempting a DIY frame — is critical for both quality and code compliance.
How Basement Framing Works?
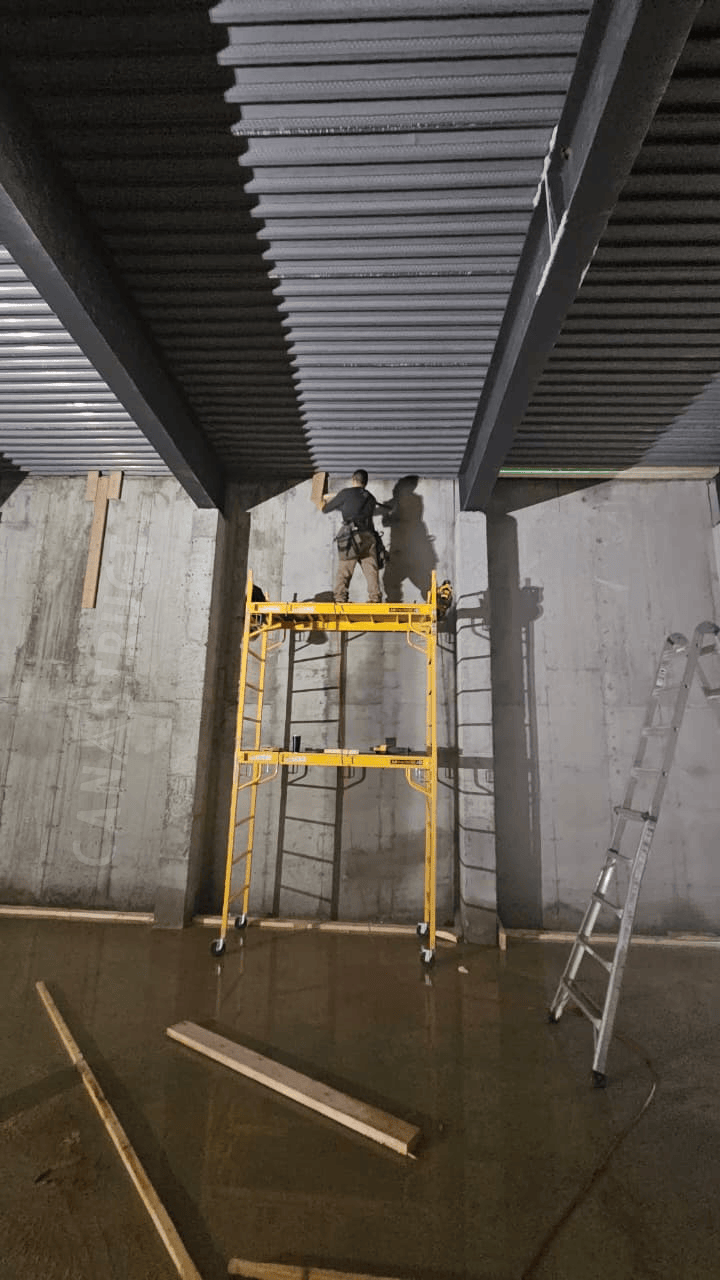
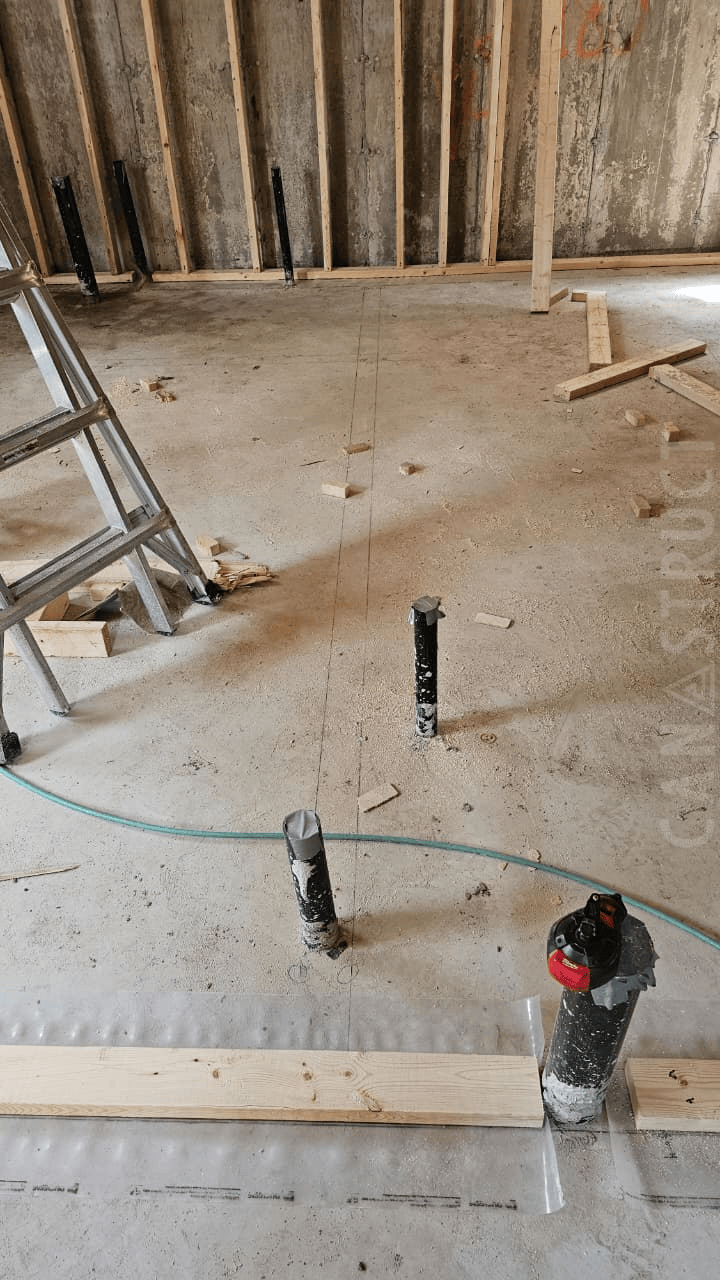
A basement framing project begins with a review of your architectural drawings or layout plan. CanaStruct's lead framer surveys the space to identify beam and column locations, mechanical rough-ins, window and door openings, and any existing conditions that affect the layout.
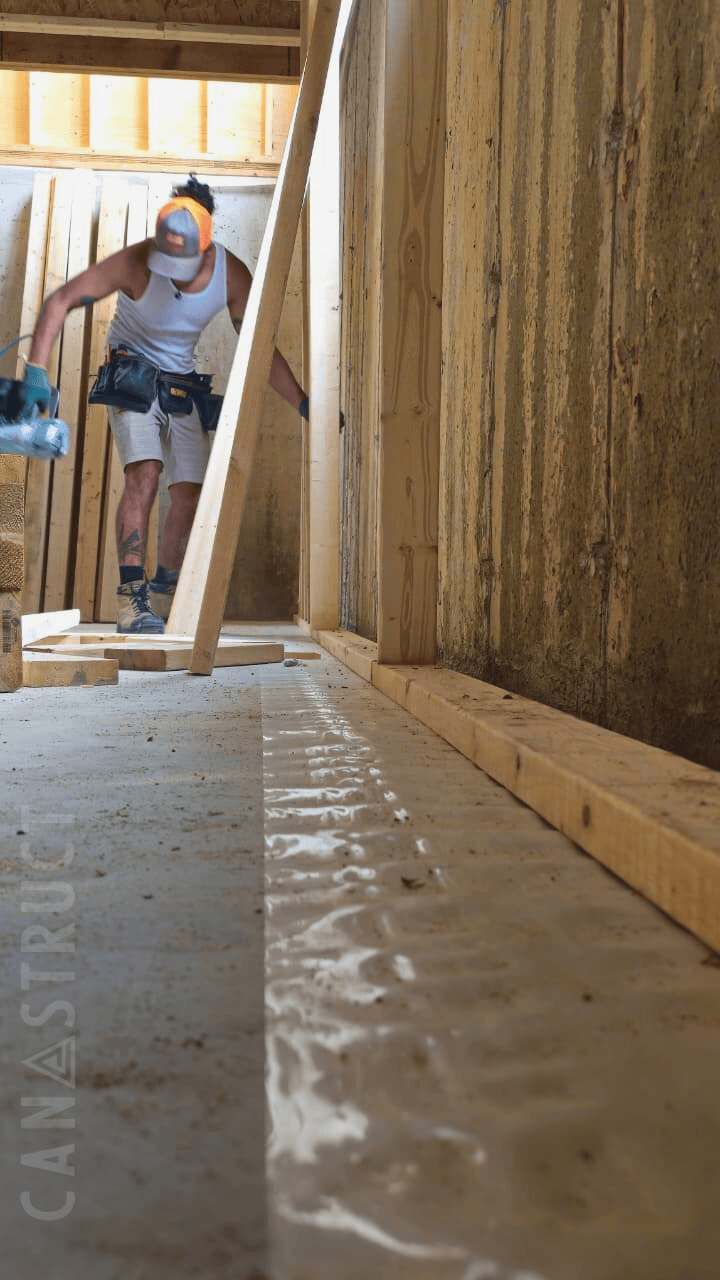
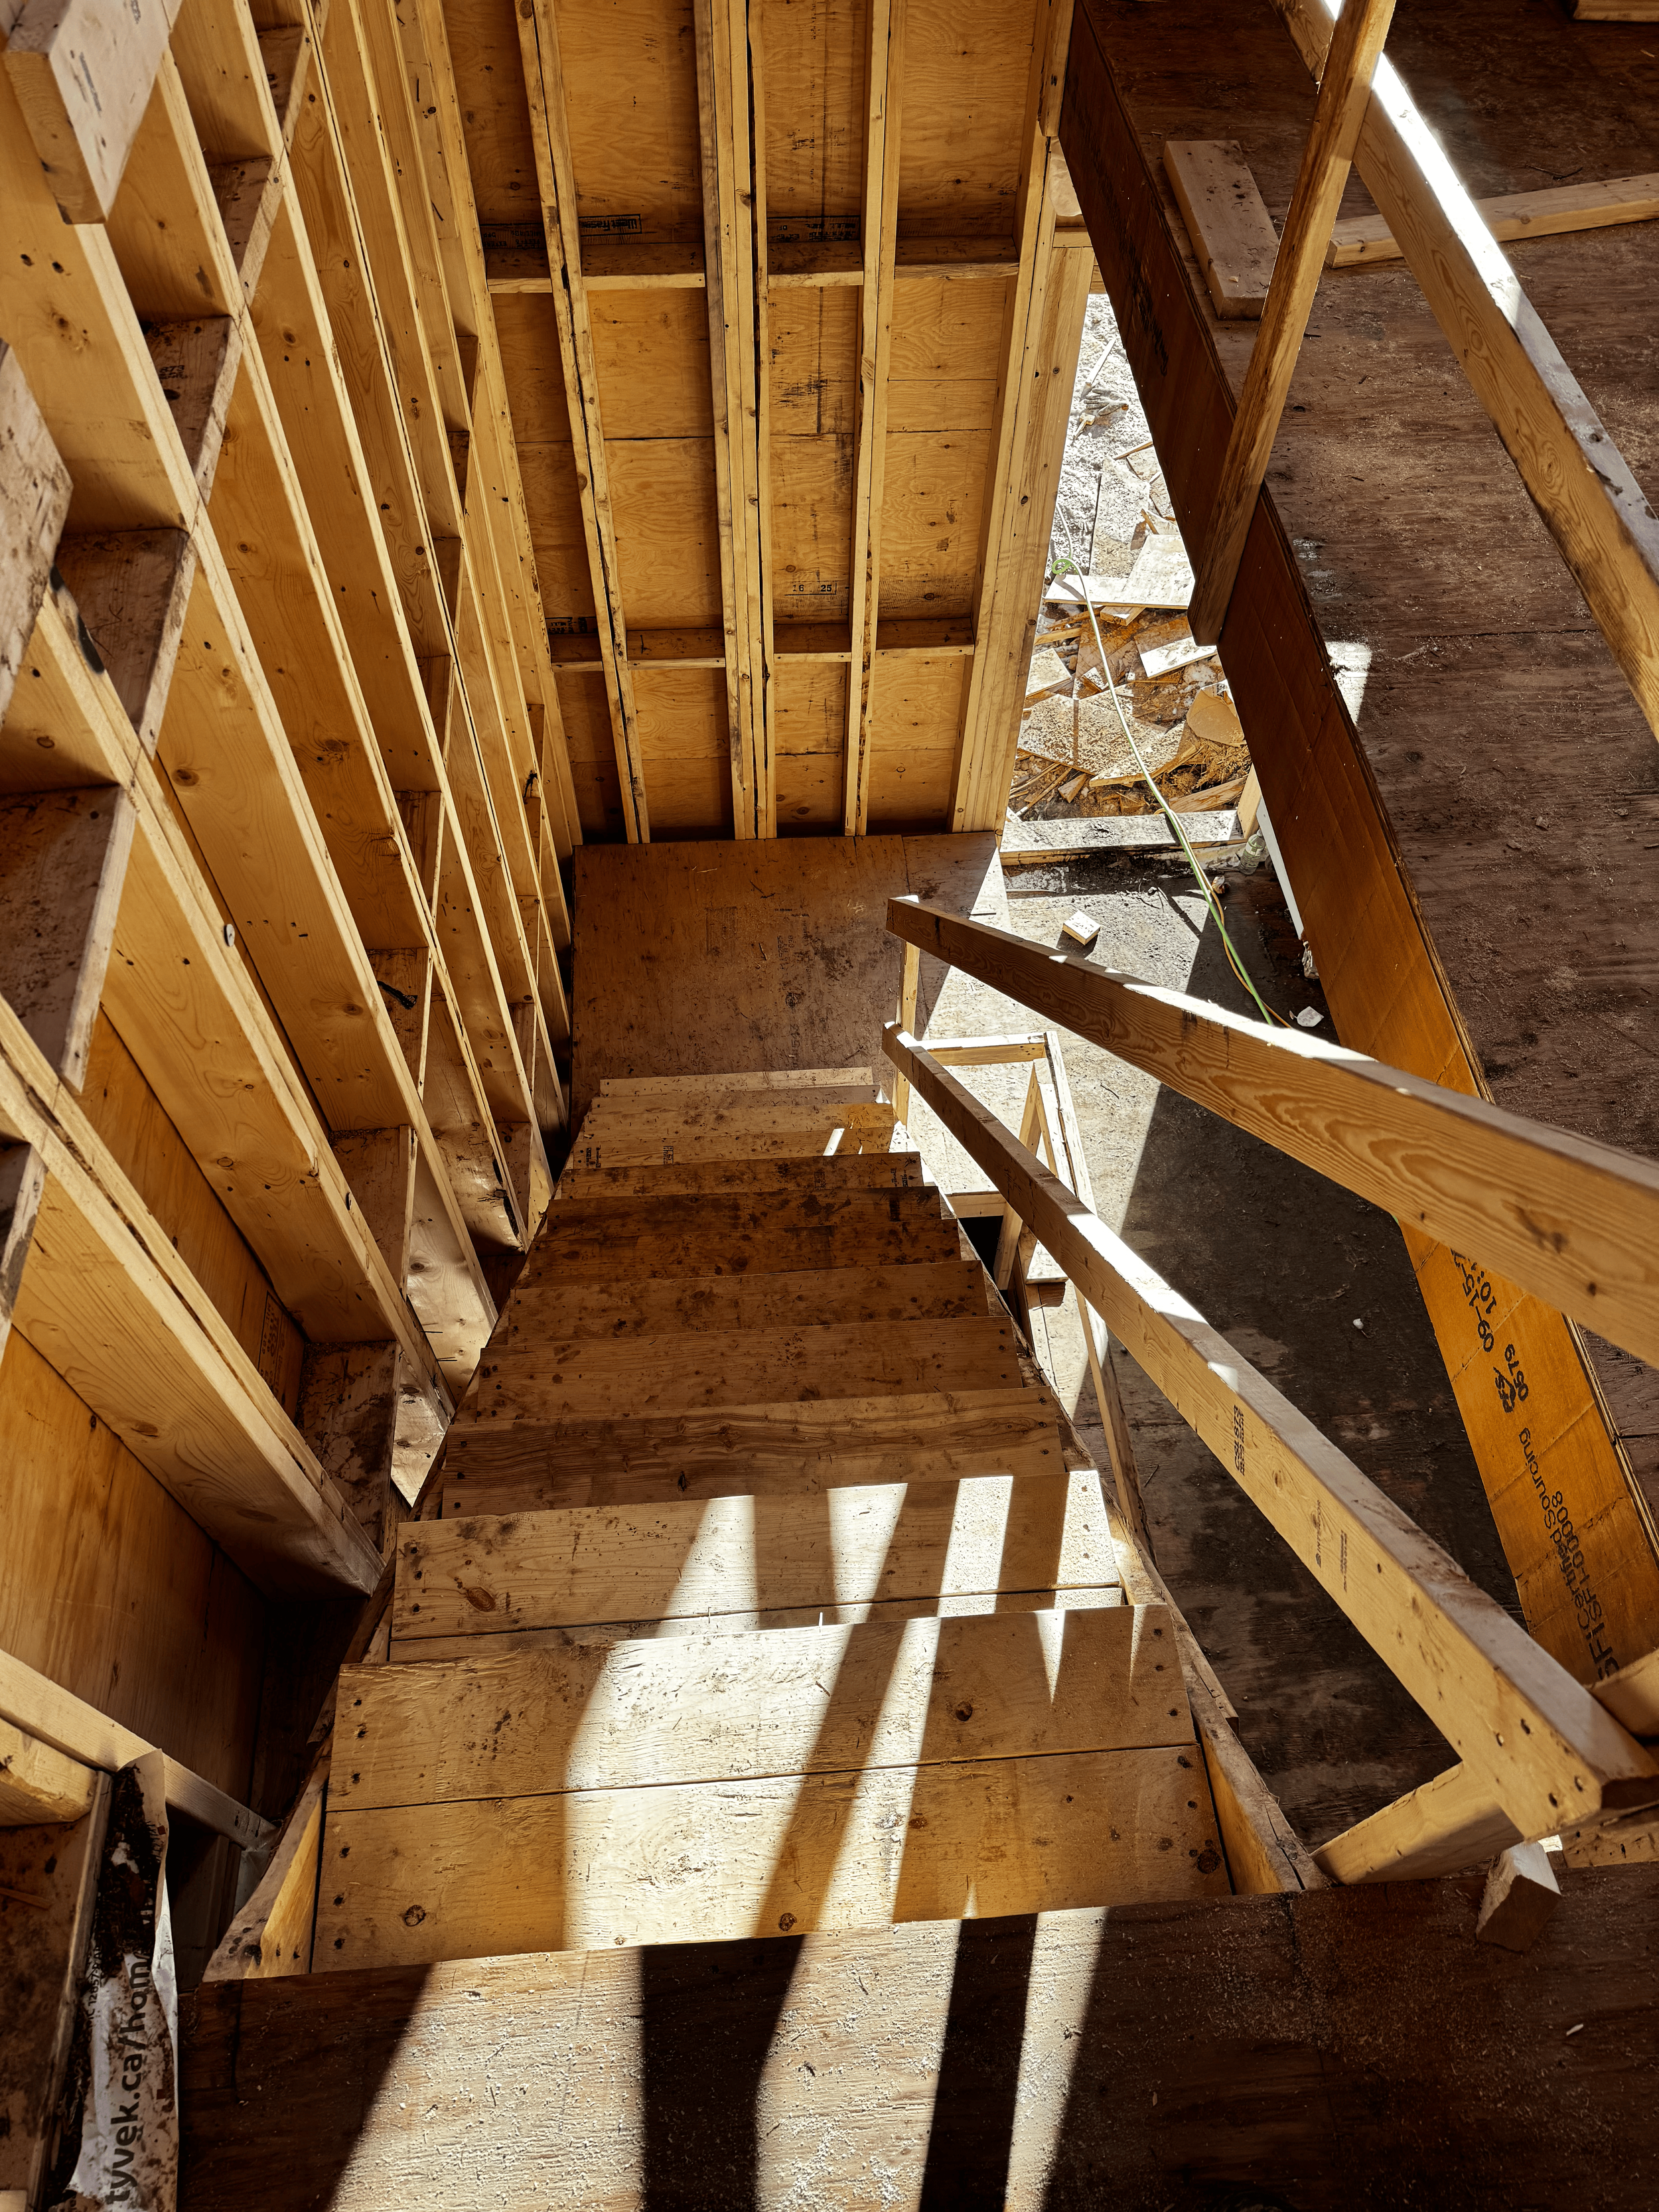
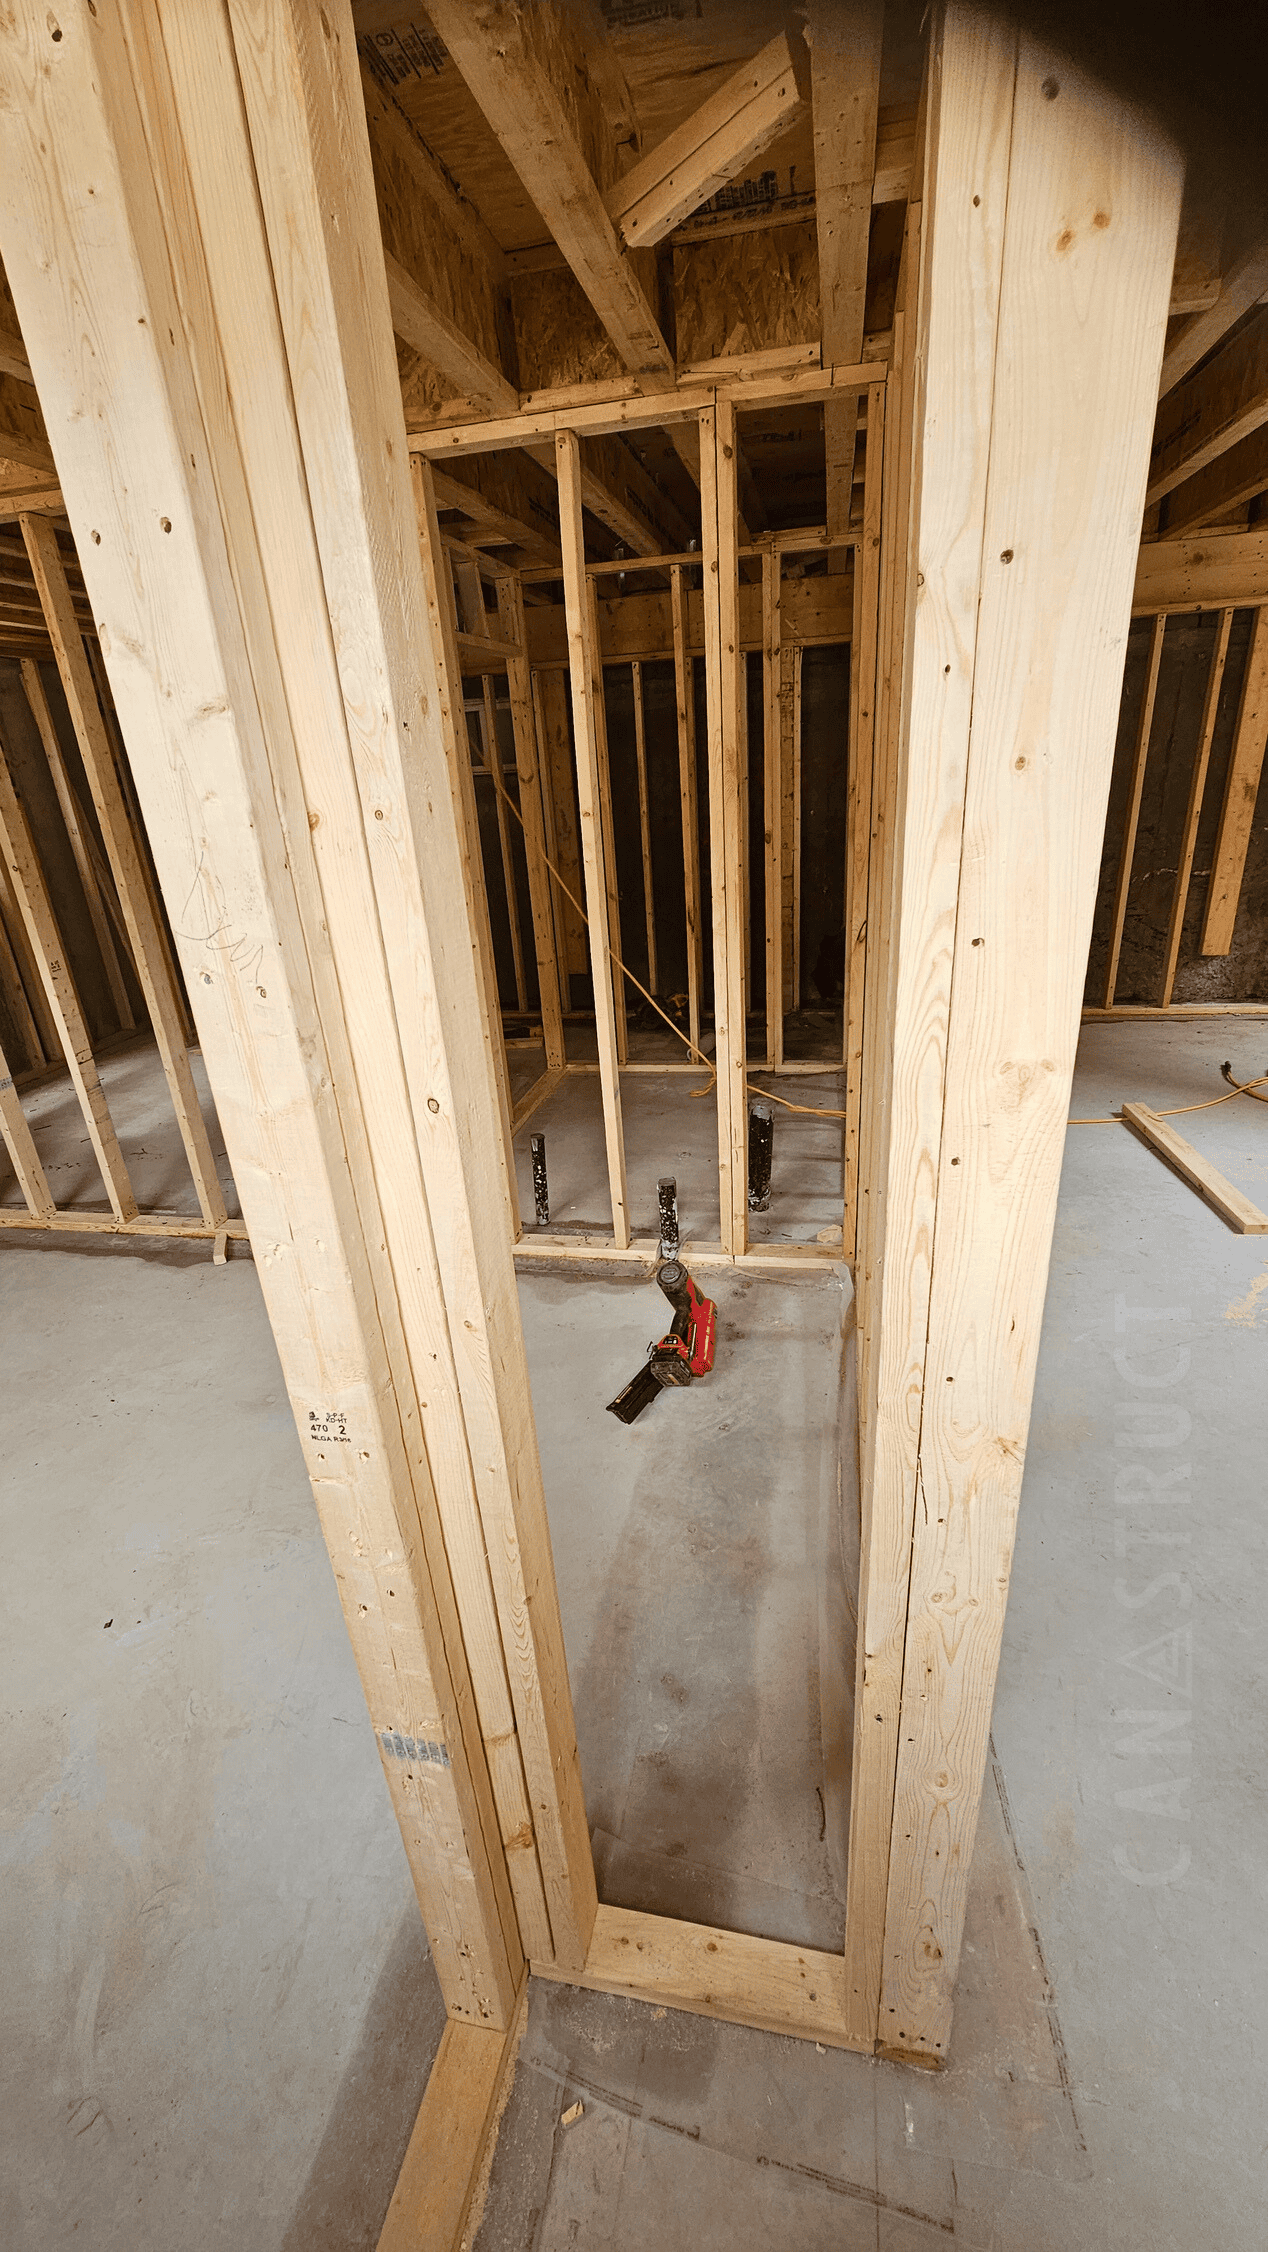
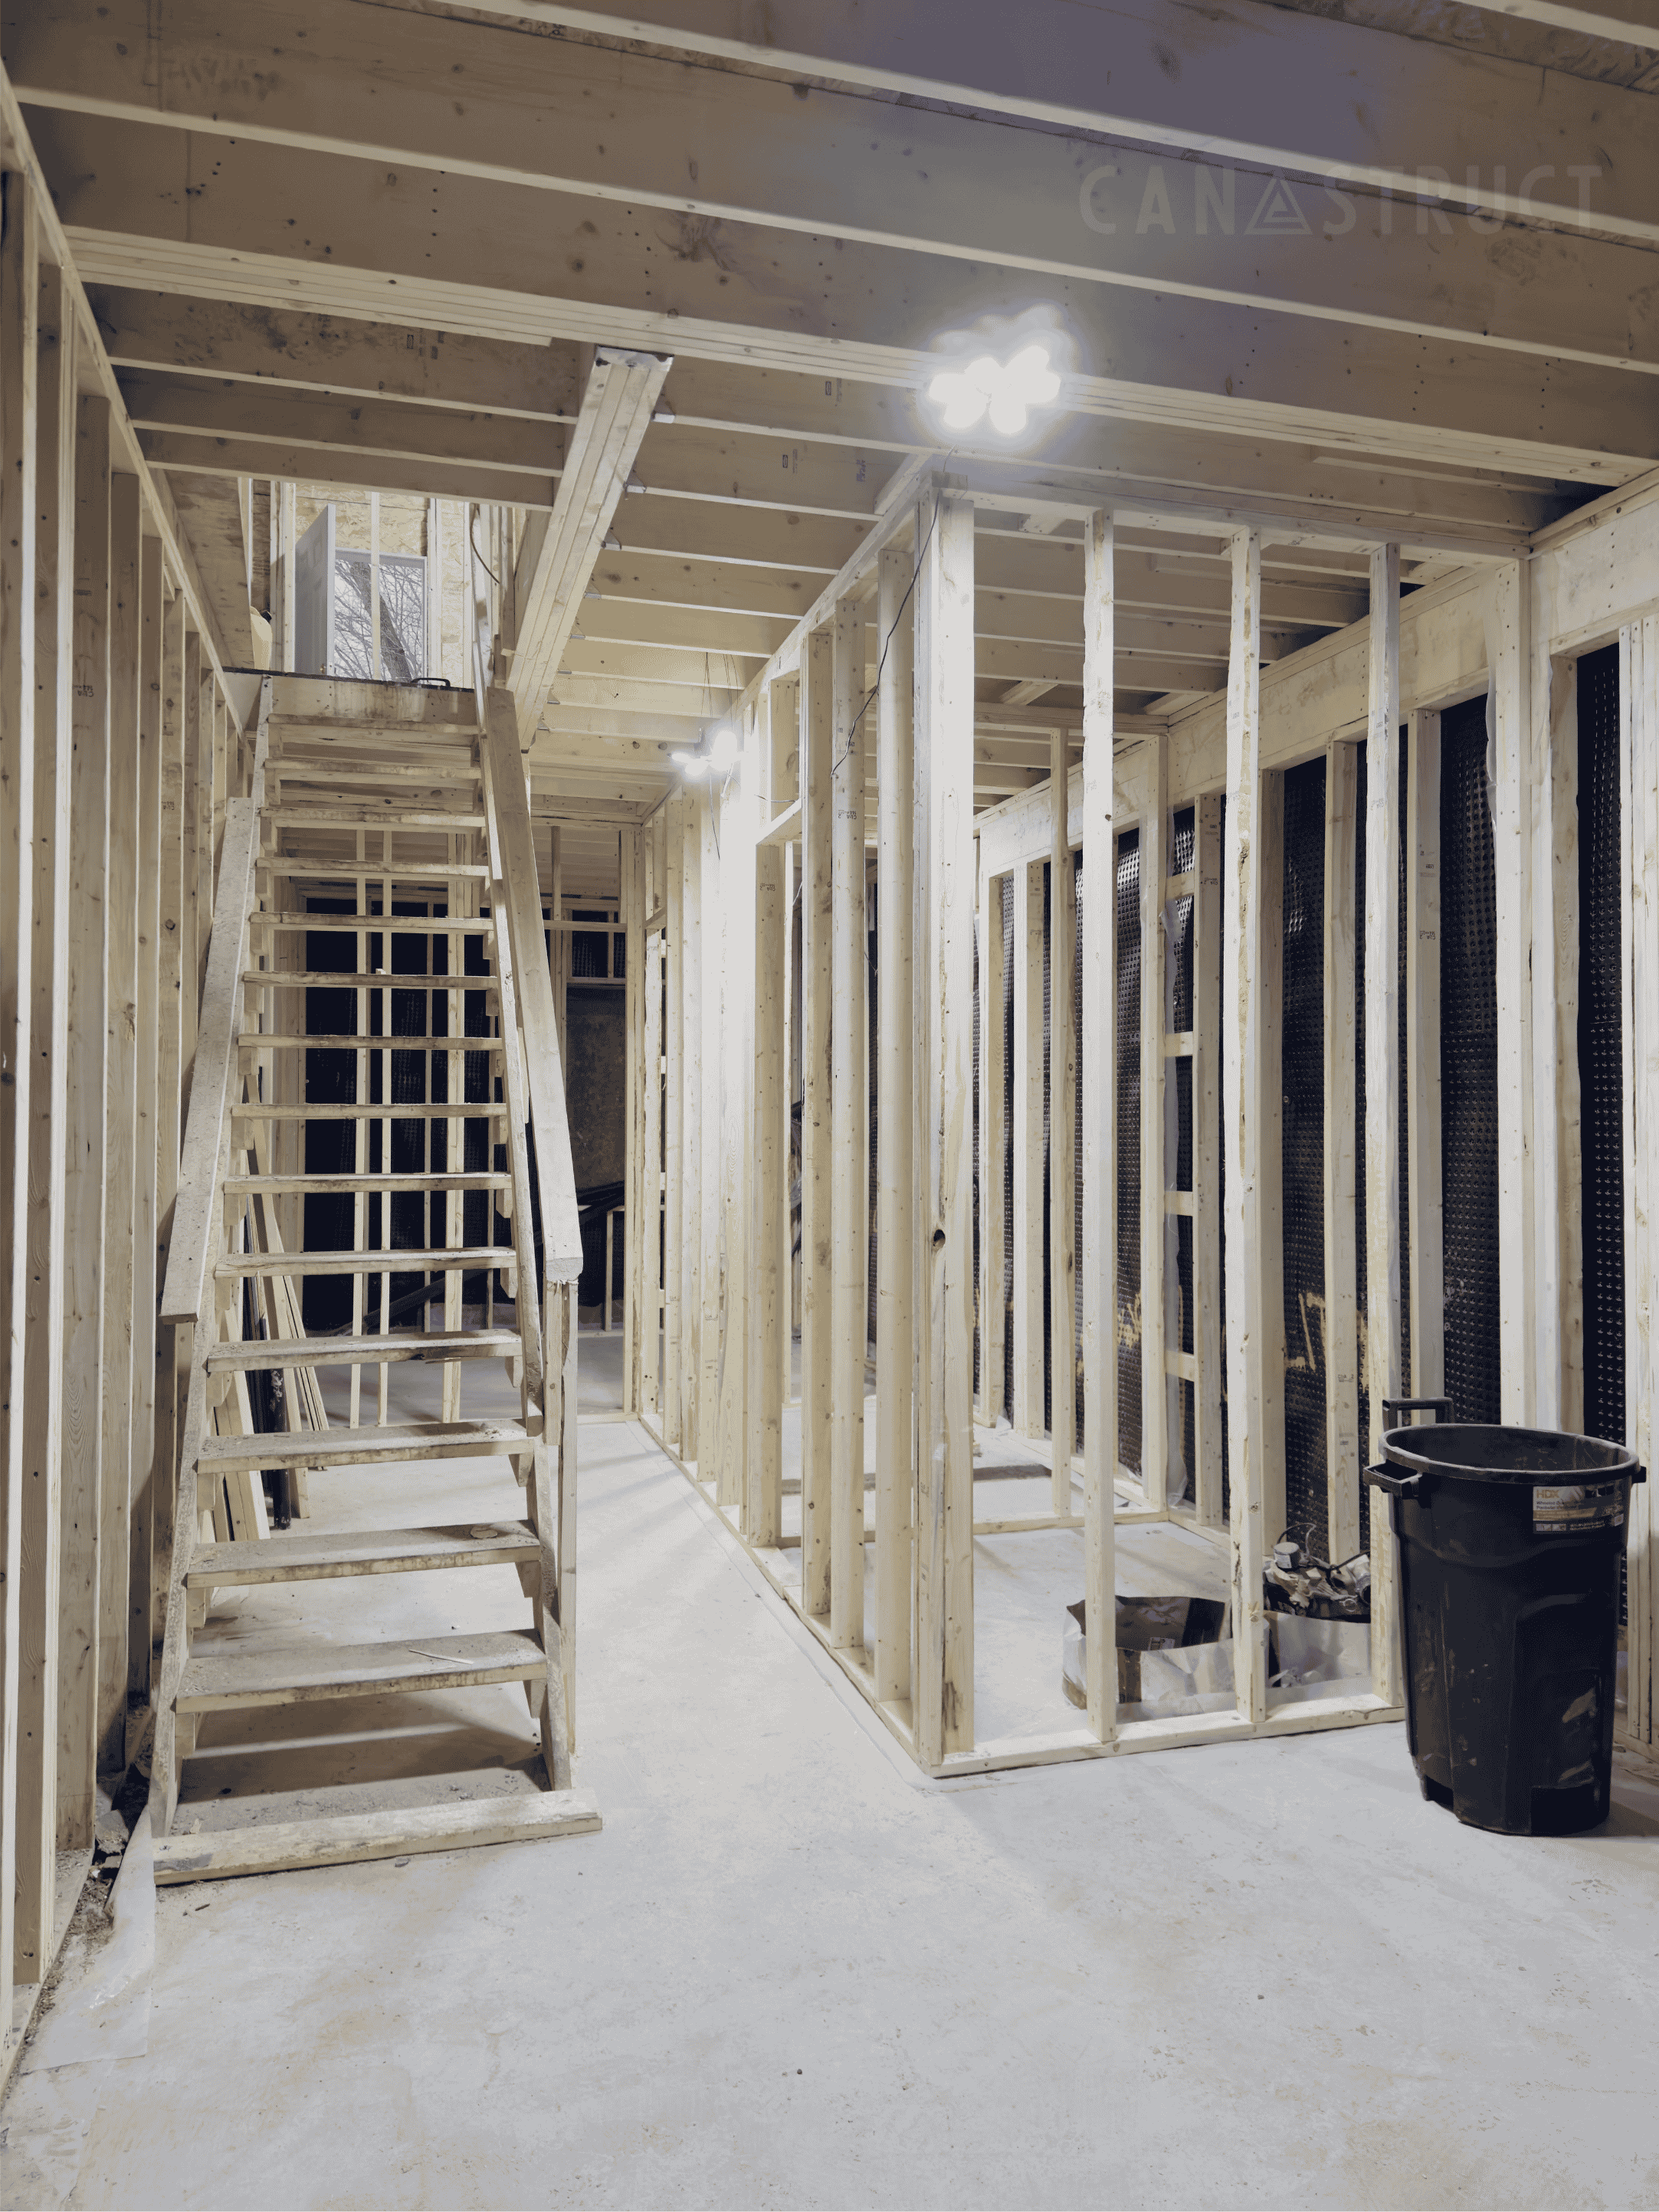
From there, we snap chalk lines on the concrete floor to establish wall positions, then install pressure-treated bottom plates (required wherever wood contacts concrete) and fasten top plates to the floor joists above. Studs — either 2x4, 2x6, or steel gauge, depending on spec — are cut and set at 16 or 24 inches on centre as required.
Bulkheads are built around ductwork and beams, headers are framed over door openings, and any required fire-rated assemblies are built with the correct stud spacing and framing details. We also rough-frame egress window openings and stairwell enclosures where applicable.
Types of Basement Framing Services We Offer
-
Finished Basement Framing
Turning an unfinished basement into a home gym, family room, home office, entertainment space starts with framing. CanaStruct frames interior partition walls, bulkheads around ductwork and beams, and furring along foundation walls — giving every subsequent trade a clean, square surface to work with.
We coordinate with your electrician, plumber, and HVAC contractor to ensure all rough-in locations are framed correctly before drywall goes up. Good framing at this stage saves expensive callbacks later. -
Basement Apartment and Legal Suite Framing
Creating a legal basement apartment in Toronto requires framing that meets specific fire separation, egress, and sound attenuation requirements under the Ontario Building Code.
CanaStruct's construction framing contractors understand these requirements and build basement suite frames that pass inspection the first time.
We frame bedroom walls, bathroom enclosures, utility room separations, and the critical fire-rated assembly between the basement unit and the floor above using the correct materials and techniques to meet City of Toronto standards.
-
Steel Stud Framing for Basements
Steel stud framing is an excellent choice for basement applications. Unlike wood, steel studs won't absorb moisture, warp, or support mold growth, a significant advantage in below-grade environments where humidity can fluctuate.
Our steel framing contractors install light-gauge steel stud systems for both load-bearing partitions and non-structural interior walls. Steel framing delivers straight, dimensionally consistent walls that simplify drywall installation and produce a cleaner finished result.
-
Multiplex Lower Level Framing
In multiplex builds, the basement or ground-floor unit often carries the most complex framing requirements: fire separations, shared mechanical rooms, stairwell framing, and party wall assemblies. CanaStruct regularly works with multiplex developers across Toronto, North York, and Scarborough to frame these lower levels to both structural and fire code standards.
Get started today.
1. Initial Consultation
We start with a call or on-site visit to understand your basement project — scope, intended use, timeline, and budget. No pressure, just a straight conversation about what you need.
2. Site Assessment
We visit the basement to review dimensions, structural elements (beams, columns, posts), mechanical locations, and any conditions that affect the framing layout.
3. Detailed Estimate
You receive a clear, itemized estimate covering all labour and materials. We explain every line item so there are no surprises when work begins.
4. Project Planning
We coordinate with your GC, designer, or other trades to align the framing schedule with your overall renovation or build timeline.
Our Basement Framing Process
5. Execution
Our basement framing crew gets to work — efficiently and precisely. We build walls, bulkheads, and openings according to your plan and applicable building code requirements.
6. Quality Check
Before we leave, our lead framer walks the space to verify plumb, level, fire assembly details, and overall framing quality. We don't move on until the work meets our standards.
7. Project Completion
We complete a final walkthrough with you or your GC and confirm the frame is ready for the next stage — mechanical rough-ins, insulation, and drywall.
Basement Framing: Wood vs. Steel Stud vs. DIY
Wood Framing vs. Steel Stud Framing
Wood is the traditional choice for basement framing and remains the most common in residential projects. It's widely available, easy to cut on site, and costs less per linear foot than steel. However, wood in a basement environment is susceptible to moisture over time, particularly if drainage or vapour barrier details aren't executed perfectly.
Steel stud framing costs more upfront but eliminates moisture risk entirely. Steel studs won't warp, rot, or attract pests. For basements in older Toronto homes where moisture history is unknown, steel is often the smarter long-term investment. CanaStruct can advise on the right choice for your specific space and conditions.
Professional Framing vs. DIY Basement Framing
DIY basement framing is popular on renovation shows, but the reality is more complicated. Toronto building permits require inspection at multiple framing stages, and an inspector can order a tear-down if work doesn't meet code. Errors in fire separation assemblies, beam clearances, or egress framing are costly to fix after the fact.
Professional framing contractors like CanaStruct bring speed, precision, and code knowledge that a first-time DIYer simply can't replicate. For a basement that will be rented out or sold, professional framing protects your liability and your investment.
Hiring a Framing Specialist vs. a General Contractor
A general contractor manages the full renovation but may subcontract the framing to whoever is available. Hiring a dedicated framing company like CanaStruct means your frame is done by specialists who do this work every day, not once in a while. Specialty framing companies consistently deliver faster turnarounds and tighter work at the framing stage.
Why Choose CanaStruct Inc
Licensed and Fully Insured: Every CanaStruct project is covered by full liability insurance. You're protected from day one through project completion.
Ontario Building Code Expertise: Our framing contractors know Toronto basement framing requirements inside and out — from fire separation assemblies to egress specifications. We build for inspection-ready results every time.
Experienced Crew: Our team has framed hundreds of basements across the GTA. We handle complex layouts, low-clearance mechanical spaces, and irregular foundations without losing precision.
Clean, Straight Work: Plumb walls and level plates make every subsequent trade's job easier. Drywallers, electricians, and tilers all work faster when the frame is right. CanaStruct delivers that quality consistently.
On-Time Delivery: We set realistic timelines and hit them. Your renovation schedule stays on track when the framing phase is done right.
Transparent Pricing: Our estimates are detailed and fixed. No vague line items, no scope creep surprises. You know exactly what you're paying for before we start.
Deep GTA Local Knowledge: CanaStruct works regularly across Toronto, Etobicoke, North York, Scarborough, Mississauga, Markham, Richmond Hill, and beyond. We know the permit processes, inspector preferences, and site conditions across each community we serve.
Frequently Asked Questions
How much does basement framing cost in Toronto?
Basement framing costs in Toronto vary based on the size of the space, wall complexity, material type (wood vs. steel stud), and whether fire-rated assemblies are required. Simple open-concept basement frames cost less than layouts with multiple rooms, bulkheads, and fire separations. Contact CanaStruct for a detailed, no-obligation estimate based on your specific project.
Do I need a permit for basement framing in Toronto?
In most cases, yes. Finishing a basement in Toronto, especially if it involves a new bedroom, bathroom, or secondary suite, typically requires a building permit. CanaStruct builds to permit-ready standards and coordinates with permit holders to ensure framing inspections pass.
Should I use wood or steel stud framing in my basement?
Both work well. Wood framing is less expensive and easier to modify, but steel stud framing outperforms wood in moisture-prone basement environments. Steel won't warp, rot, or grow mold. For basements with any moisture history or in older Toronto homes, steel stud framing is often the smarter long-term choice. CanaStruct can recommend the right option for your specific space.
What is steel stud framing and why is it used in basements?
Steel stud framing uses light-gauge steel channel members instead of wood lumber. In basements, it's preferred for its moisture resistance, it won't absorb water or support mold growth the way wood can. Steel studs are also dimensionally consistent, which means straighter walls and easier drywall installation.
How long does basement framing take?
A typical single-family basement frame takes one to three days depending on size and complexity. Basement apartment conversions with multiple rooms and fire-rated assemblies take longer. CanaStruct provides a specific schedule with every estimate.
Can framing contractors help with basement apartment conversions in Toronto?
Yes. CanaStruct regularly frames basement apartments and legal secondary suites across Toronto. We understand the fire separation, egress, and sound attenuation requirements that come with rental unit conversions and build the frame to meet City of Toronto standards.
What is the difference between structural framing and basement framing?
Structural framing refers broadly to the load-bearing skeleton of a building, floors, walls, and roof systems. Basement framing is a subset of this, focused specifically on the interior wall framing within a basement space. While some basement walls are load-bearing, many are partition walls that define rooms without carrying structural loads above them.
How do I find reliable framing contractors in Toronto?
Look for framing companies with a proven local track record, proper licensing and insurance, and experience with Toronto building permits. CanaStruct has all three. We've been framing basements and homes across the GTA for years and consistently deliver clean, code-compliant work.
Does CanaStruct work with general contractors on basement renovations?
Absolutely. CanaStruct works regularly as a framing subcontractor on projects managed by general contractors across the GTA. We integrate smoothly into your project schedule and deliver the framing phase on time so other trades can follow without delays.
Which areas near Toronto does CanaStruct serve for basement framing?
CanaStruct serves the full Greater Toronto Area for basement framing, including Toronto, East York, Etobicoke, North York, Scarborough, Richmond Hill, Markham, Caledon, Mississauga, and Oakville. If you're in the GTA, we're ready to help.
Service Areas we Serve
CanaStruct Inc. provides basement framing services throughout the Greater Toronto Area. We currently serve:
Toronto (all commercial and industrial zones)
East York
Etobicoke
North York
Scarborough
Richmond Hill
Markham
Caledon
Mississauga
Oakville
No matter where your basement project is located in the GTA, CanaStruct's framing contractors are ready to help. We're experienced in working across all Toronto neighbourhoods and surrounding municipalities.